This post is about four (almost) tool-agnostic best practices to follow when you do any kind of formal design deliverable.
I recommend these best practices for two reasons:
1. Easier handoffs – improve your ability to share your file across team members / with clients. This is especially important these days, when you’re not sitting next to someone who is using your files
2. Reduced maintenance – make it easier to maintain files over time, so small updates don’t require lots of rework
Aligning on these ‘rules’ as a team will help improve efficiencies.
My four ‘best practices’ are:
1. Set up your grid/layout
2. Use symbols/components/masters
3. Use styles (text/layer/effects, etc.)
4. Organize your file, including naming things as needed, changing the order of layers, etc.
Each rule includes examples from Sketch, Figma, Axure, and Adobe XD. Each of these principle/software combinations could really be their own post, so consider this just a high-level intro to these ideas! Reach out via the comments or LinkedIn if you have more questions on this topic.
Note: if you’re using your design tool to ‘sketch’ out ideas, these aren’t applicable. These are only for more formal deliverables that you’re making, particularly if you are going to be sharing them and/or will have to make updates to more than a few screens.
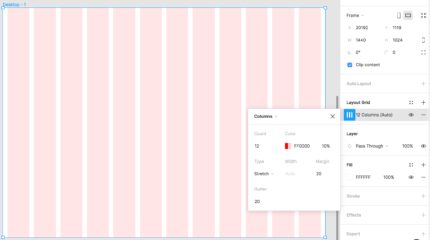
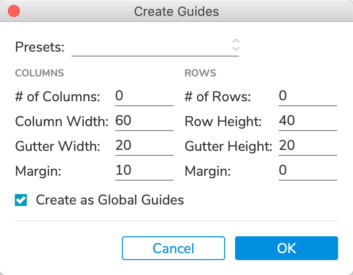
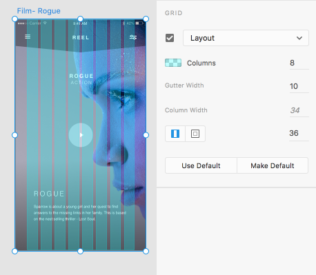
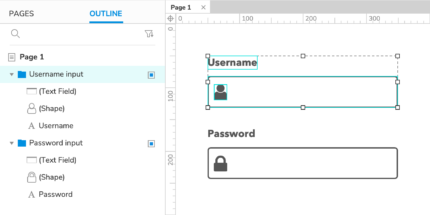
1. Set up your grid/layout
Why: consistent spacing/alignment within and across pages increases consistency in look/feel, and also reduces confusion moving from design to development
On your artboard/frame/page, set up a grid/layout.
Make sure to talk to your front-end devs about what framework they will be building in, if any, and what the default grid settings are within that layout. Oftentimes, you will want to set up the defaults to match that framework, i.e. BootStrap has different layouts for each size of screen (see https://getbootstrap.com/docs/4.0/layout/grid/#grid-options). Angular follows Google Material Design default breakpoints (https://material.io/design/layout/responsive-layout-grid.html#breakpoints).
Sketch: https://www.sketch.com/docs/the-interface/#how-to-create-grids
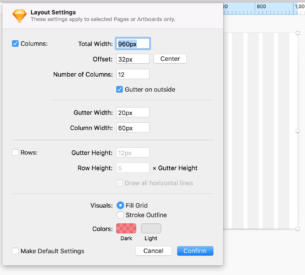
Axure: https://docs.axure.com/axure-rp/reference/grid-guides-snapping/
Adobe XD: https://helpx.adobe.com/xd/help/artboards-grids.html#grids
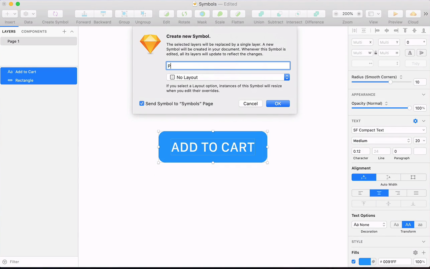
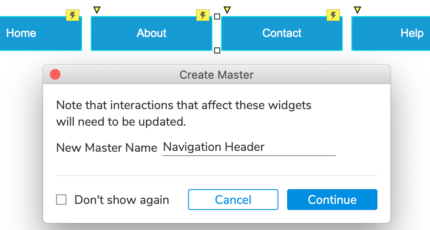
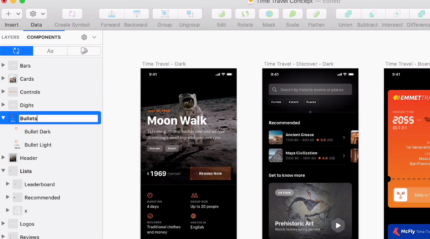
2. Use symbols/components/master.
Why: Symbols/components/masters are elements that can be easily reused across artboards/frames and pages, reducing rework. If changes are needed, they can often be made in just one place.
Did you copy and paste something? Or do you think you’re going to use something similar to what you just built on another page? Use a symbol! (/component/master).
What’s possible with your symbol/component/master does vary quite a bit across design software options. You may able to override text, images, and/or styles. Imagine a product list page where each product uses the same component, but with different information. Now if you need to update the layout each product is using, you can do it quickly in one place.
Sketch: https://www.sketch.com/docs/symbols/
Figma: https://help.figma.com/hc/en-us/articles/360038663154
Axure: https://docs.axure.com/axure-rp/reference/creating-and-using-masters/
Adobe XD: https://helpx.adobe.com/xd/help/components.html
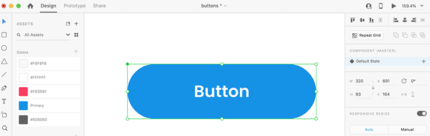
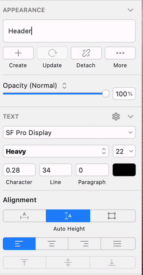
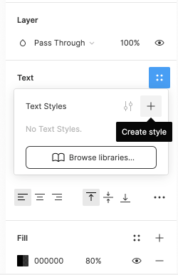
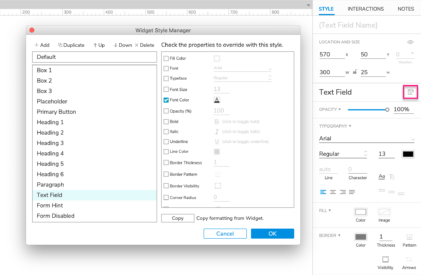
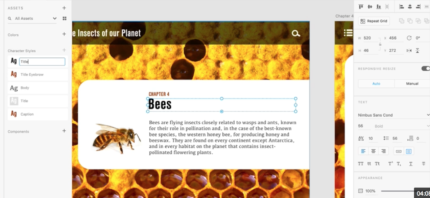
3. Use styles – text, layer, fill, etc.
Why: Assign “styles” to text and colors so text and colors/outlines can be easily overridden or changed later. Make it easy to stay consistent, and to make changes.
For example, what if every H1 needed to be changed from 42pt to 38pt, across 40 pages?
Or if everything with a gray outline needed to have a slightly darker gray?
Sketch: https://www.sketch.com/docs/styling/
Figma: https://help.figma.com/hc/en-us/articles/360039238753-Styles-in-Figma
Axure: https://docs.axure.com/axure-rp/reference/styling-widgets/#widget-styles
Adobe XD: https://helpx.adobe.com/xd/how-to/change-design-styles-across-artboards.html
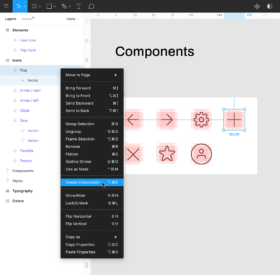
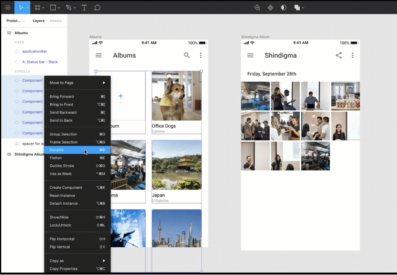
4. Organize your file, including intelligent grouping and naming
Why: Whether sharing with someone else or looking back on old work, clear grouping and naming is key to finding the right layer.
Align on naming and organization conventions with your project team. This applies to pages, layers, components/symbols/masters, etc.
This article has some great suggestions around naming conventions:
“Solid naming conventions make your designs easier to implement, your design systems easier to understand, and you a more
collaborative designer… While naming, try to focus on the element’s category and role, but not its form.” ~https://www.invisionapp.com/inside-design/naming-conventions/
Organize and name your layers/groups/pages so they make sense to others, and so they are sorted from top to bottom in a meaningful manner.
In Sketch, re-ordering is particularly important for layers inside symbols, since overrides follow layer order (see “layer hierarchy” in this article: https://medium.com/@lloyd/sketch-symbols-best-practices-now-that-nested-overrides-are-a-thing-9b651d3fe1a4)
You may also want to align on conventions such as where you put your artboards/frames. For example, align on whether different states of a page go next to the original page, or below it.
Sketch: https://www.sketch.com/docs/styling/#organizing-styles
Figma: https://help.figma.com/hc/en-us/articles/360039958934-Rename-Layers
Axure: https://docs.axure.com/axure-rp/reference/widget-groups/
Adobe XD: https://helpx.adobe.com/xd/help/layers.html
Tip: Check out plugin options for your software to make this all easier! For example, Sketch, Adobe XD, and Figma all have a plugin called “Rename It” which can help: https://renameit.design.
Sketch also has Automate (https://github.com/Ashung/Automate-Sketch), which among many other things, allows you to order your layers by their x or y position.
There’s lots more out there to explore, but hopefully this article gets you started!